Sy's Peglock - Parametric Hooks.
by Donovan Baarda · via Printables
| Format | STL |
| Category | Organisation |
| License | CC BY-SA |
| Triangles | 75.6k |
| Uploaded | Nov 6, 2023 |
⬇ 108 downloads
❤ 20 likes
👁 655 views
Description
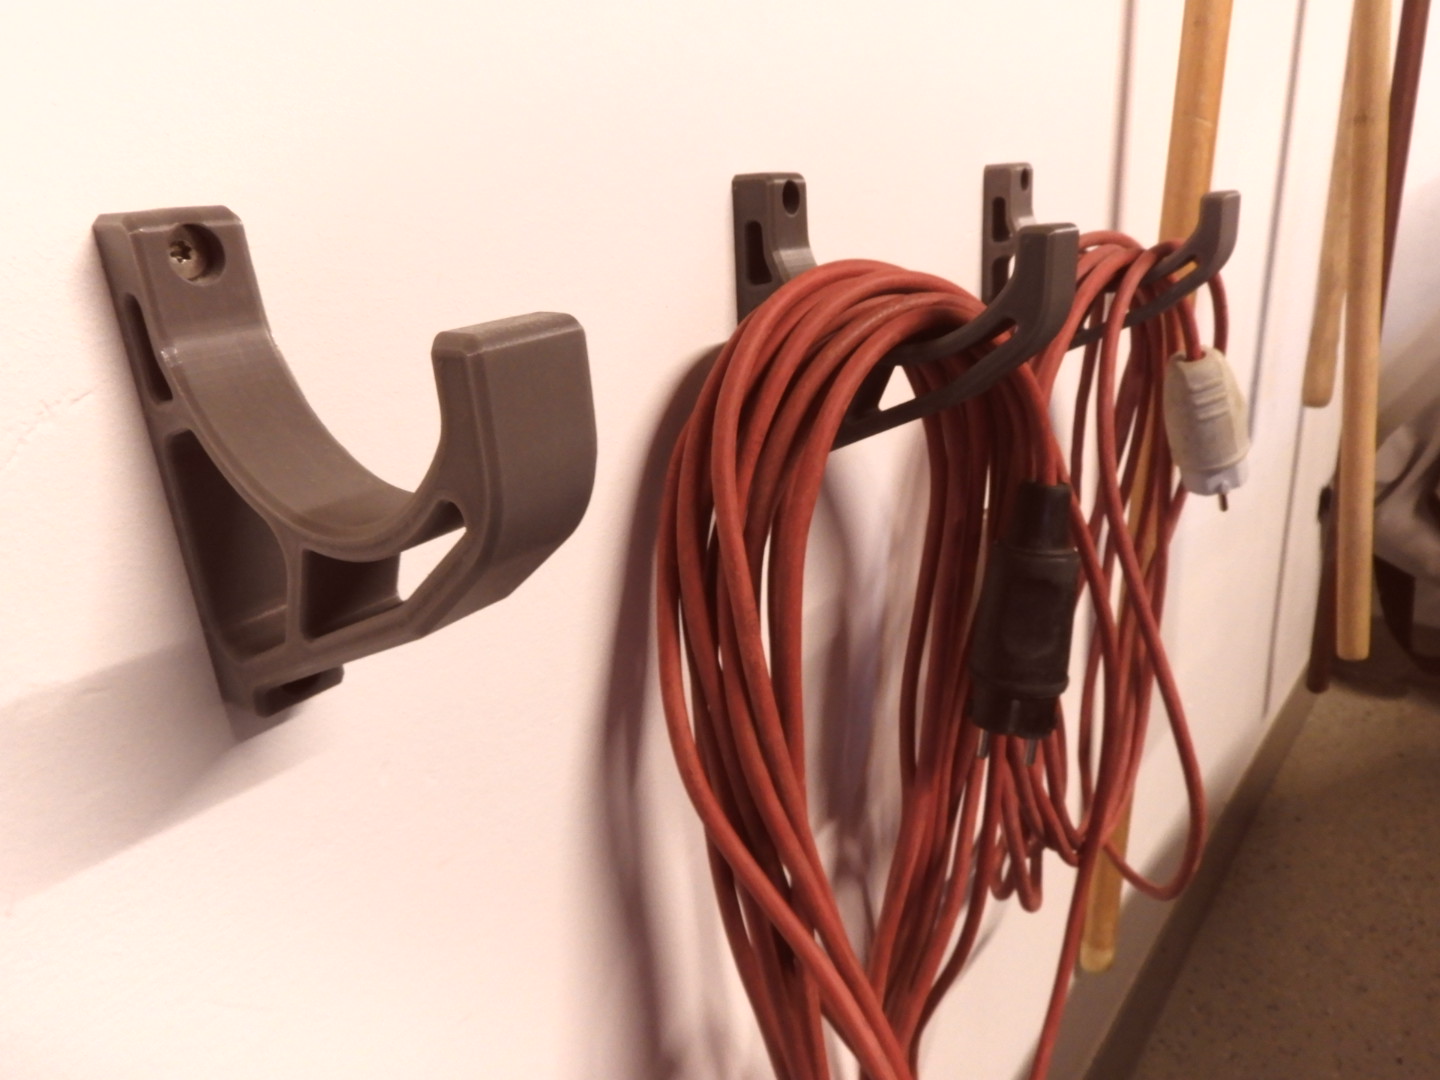
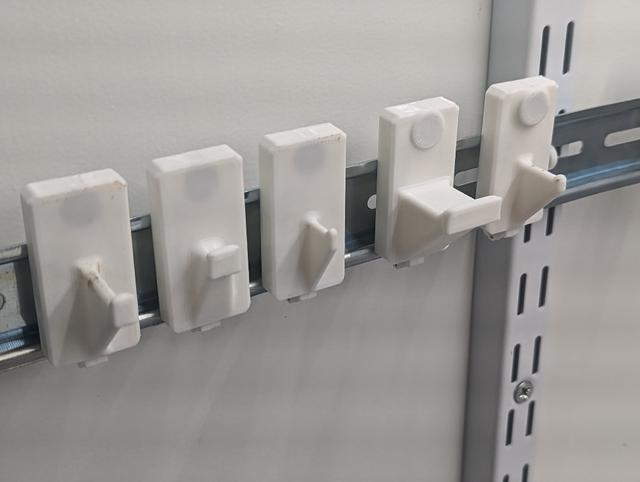
This is loosely based on Sy's Peglock - Large Hook but parametric so you can create a wide variety of hook lengths and shapes to suit different tools. It can be used with my Sy's Peglock Improved and Parametric pegboard attachment or Sy's Peglock - DIN Rail Attachment to create custom tool hooks for pegboard or DIN Rail tool holders. Printing There are a variety of uploaded stl files for various hooks that I've found useful. The naming of the stl files is in the form “Hook Mount v<version> <Enable Magnet>-<Magnet Diameter>-<Magnet Thickness>-<Magnet Height>-<Enable Knob>-<Hook Length>-<Hook Width>-<Hook Wedge Angle>.stl”. It doesn't require any raft/brim and prints fine using default “fast” printer settings with 0.3mm layers, but you should use at least 3 shells for strength. Print it flat on it's back with the hook pointing up. It doesn't require supports provided your slicer recognises it must use bridging over the attachment and magnet holes. With FlashPrint it fails to bridge over the magnet hole when <Magnet Height> is not zero. If using supports, I find pillar supports touching the platform only works best. On my Flashforge Adventurer 3 it prints in about 30mins, depending on the hook size. Usage Just slide it over the peglock attachment of your choice. With the pegboard attachment you need to insert the attachment into the pegboard before sliding the hook mount over it. You can remove it by sliding it back off. You may need to tap it up with a rubber mallet or something similar to dislodge it. Magnets can be inserted from the back. They should go in easily, with a mild interference fit at the end of the hole to hold them in place. They can be removed with something metal or another magnet to pull them out. Customizing If you have special requirements you can generate your own models. Modifying and exporting this model doesn't require you to sign up for any accounts or download any software. Just follow these instructions below! Parameters Currently there are 8 parameters that are adjustable, but let me know if you need anything else to be adjustable and I can update it! Some combinations of values are invalid and will result in a malformed hook. Some combinations will break only some fillets, giving some “sharp edges” that might not be acceptable. Play with the values till you get what you want. Enable Magnet - whether to include a magnet hole or not. Magnet Diameter - the diameter of the magnet hole. The default 10mm will give a good interference fit for a 10mm diameter magnet. Magnet Thickness - the thickness of the magnet hole. The default of 3mm will accommodate thinner magnets, but 3mm thick magnets have a good strength for holding tools. Magnet Height - how high above the base the magnet protrudes. For 0mm there is no raised magnet bump. For some tools it helps if the magnet protrudes 1mm to 3mm to make better contact with the tool. Can be set between 0mm to 5mm. Enable Knob - whether to put a knob on the end of the hook. This can help hold tools better, but I find it excessive when using a magnet. With it off there is still a little curl-up on the end. Hook Length - the length of the hook. Measured from the base surface to where the curl-up starts, so the hook will protrude 4mm to 7mm (with knob) further. Can be set between 5mm to 100mm. Hook Width - the width of the top surface of the hook. The default of 4mm works well for standard hooks, but it can be set between 2mm to 22mm for narrower or wider hooks. Hook Wedge Angle - The “wedge” angle between the sides of the hook hook in degrees. The default 0 degrees is a normal vertical hook. A positive angle up to 60 degrees will make the hook “flare out” towards the bottom. A negative angle up to -30 degrees will make the hook “taper in” towards the bottom. The angles that work depend on the Hook Width setting, with wide Hook Width settings required for negative Hook Wedge Angle settings. Directions Navigate to the OnShape Document . Go to the Peglock Hook Mount tab and change the parameters as needed. 📷 Image redacted — claim this model to add your own media Right click on the Hook Mount part in the bottom left corner and click Export… 📷 Image redacted — claim this model to add your own media Choose STL as the format, adjust the other settings as you see fit, and click Export 📷 Image redacted — claim this model to add your own media
Originally published on Printables