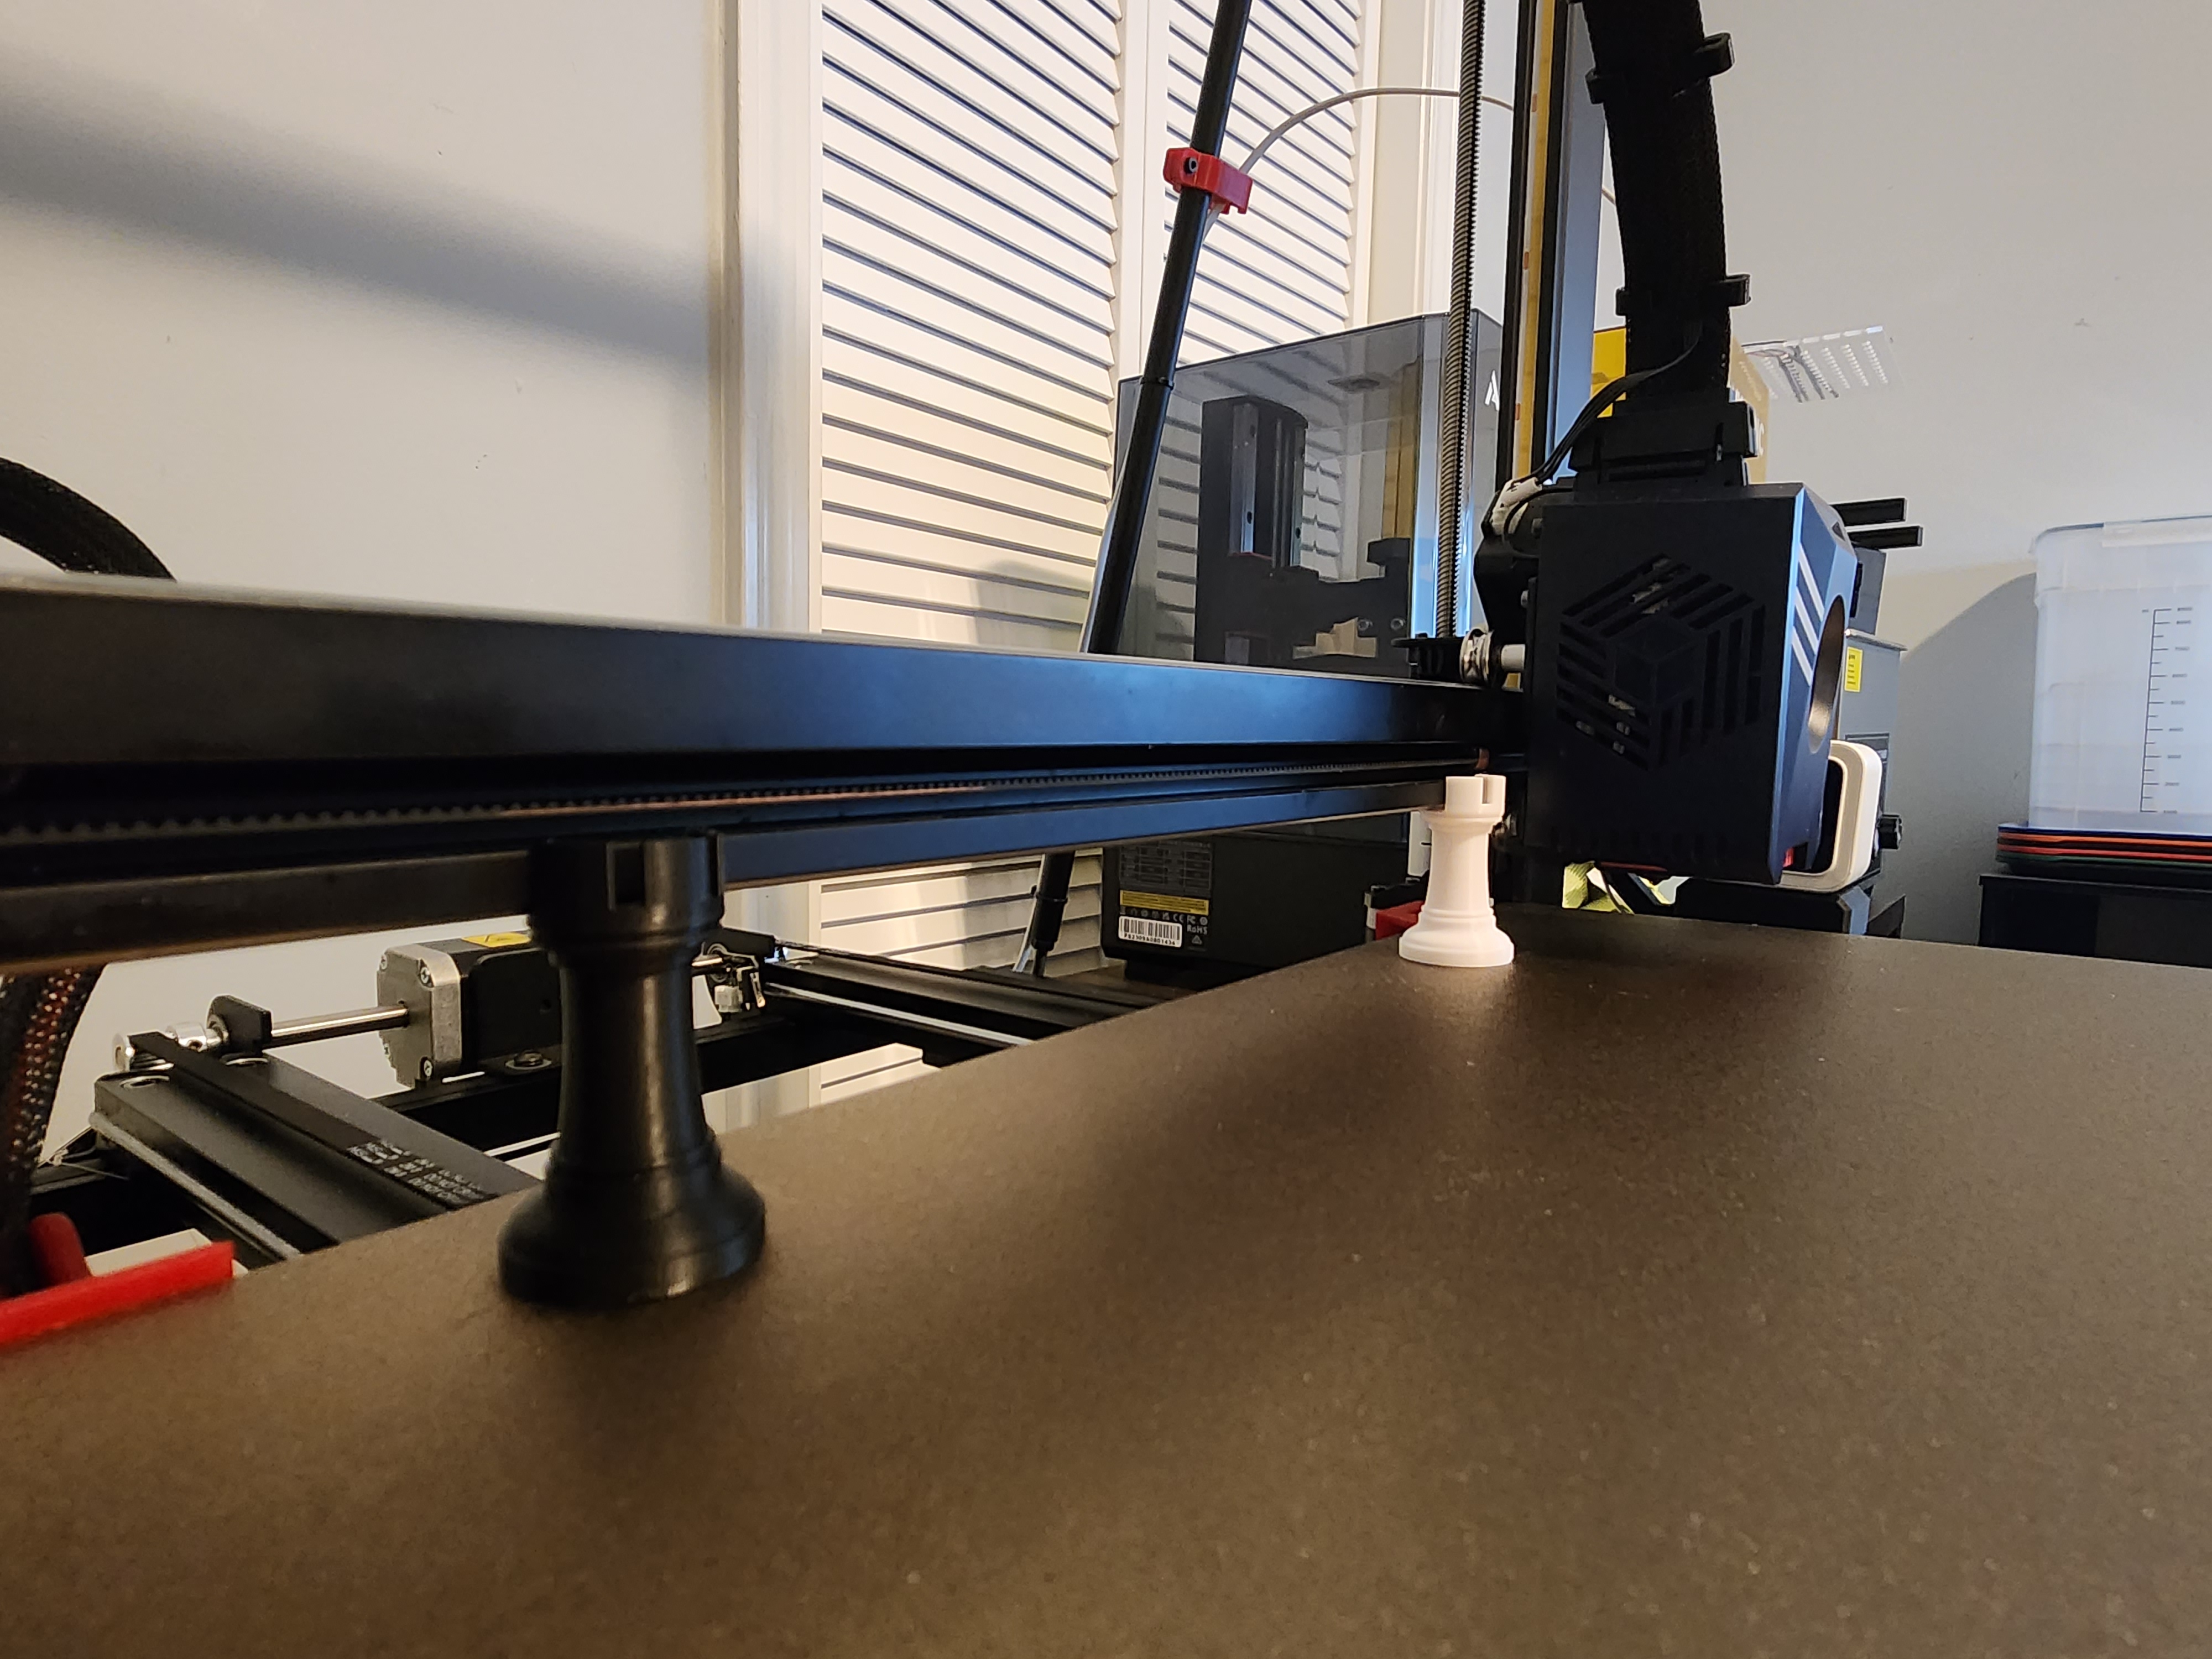
"THE ROOK" Anycubic Kobra 2 / Kobra 2 Pro / Kobra 2 Plus/ Kobra 2 Max - X-Gantry Leveling Sync Dual Z-Axis
by FreshPrints · via Printables
| Format | STL |
| Category | Art |
| License | CC BY-NC-ND |
| Triangles | 18.9k |
| Uploaded | Mar 11, 2024 |
⬇ 2.2k downloads
❤ 279 likes
👁 12.2k views
Description
“The Rook” This is a Quick way to check your X-Axis Gantry is parallel with bed. And adjust Z-Axis rods to get them back in sync. The Rook was designed to be a quick and easy way to get your gantry back parallel to bed when it's knocked out or belt slips. And adjust Z-Axis rods to get them back in sync. To get a good first layer the 2 planes print head and bed need to be parallel with each other. This will work for that. If you do not wish to use, The Rooks. I recommend 1-2-3 blocks can be found on Amazon. All you need is 2 exact same size items, then use directions below. Prerequisites before using “THE ROOK” Please note: The Rook is not designed for initial printer setup. This should be done before using The Rook. This should be done when you first get your printer. Squaring Printers frame, then Square X-Gantry to Frame. After that you need to Tram your heated bed, all should be done during initial setup. The bed level should be known good prior to using The Rooks for the most accurate results. I recommend using the Anycubic Dial Indicator to tram your 3D printer's bed. and a machinist square for initial setup of printer to get everything true before using The Rook. After you can use the Rooks to maintain the synchronization. I have some videos bottom of Anycubic Dial Indicator post for reference on squaring your printer's frame. If find that your heated bed is not too far out and just need minor adjustments, you can use Aluminum tape or Kapton tape. If you find your bed is warped and need to adjust for high and low spots that minor adjustment won't fix. You will need to silicone mod your bed. Here is a how to that explains the process and non-affiliated links on what to buy. Anycubic Silicone Mod for Kobra 2 Max , Pro , Neo , Plus Instructions on Synchronizing Z-Axis Rods and Adjusting X-Axis Gantry to be parallel with bed . Print 2 rooks you will need one for left and right of gantry. These will need to be printed one at a time in same position for highest accuracy. 2. Home all axis. By press Home All button in settings. 3. Once all axis are homed place Rooks opposite side of the printer bed under left and right of gantry. Note: Anything other than the Kobra 2 Max. You will need to Z up till The Rooks fits after home. Also, if you need to move extruder press motors off. Will move freely. if not skip this step. 4. Disable all motors (found in same screen you homed all Axis. By pressing Motors off) 5. Lower the X-Gantry down on The Rooks if they are not already touching. Check makes sure both sides are level and same friction is felt on both side when placing the rook. 6. If they are not. Manually Adjust the Z-Axis belt till they are aligned. Below describes how. 📷 Image redacted — claim this model to add your own media 7. Loosen the 4 grub screws on 2 on left and 2 on right idlers. Idlers are located at the top of both Z-Rods. 8. Take note of the spacing of idlers on both sides should be the same from top bracket. Idlers should not touch the top mount bracket. If so correct this. 📷 Image redacted — claim this model to add your own media 9. Now both Idlers are loose. Turn the Z-Axis Rods the direction desired. To Lower your X- Gantry evenly on top of the 2 Rooks 10. Tighten the 4 grub screws back. 2 on each idler. 11. Congrats your X-Gantry is now parallel to the heated bed.
Originally published on Printables


