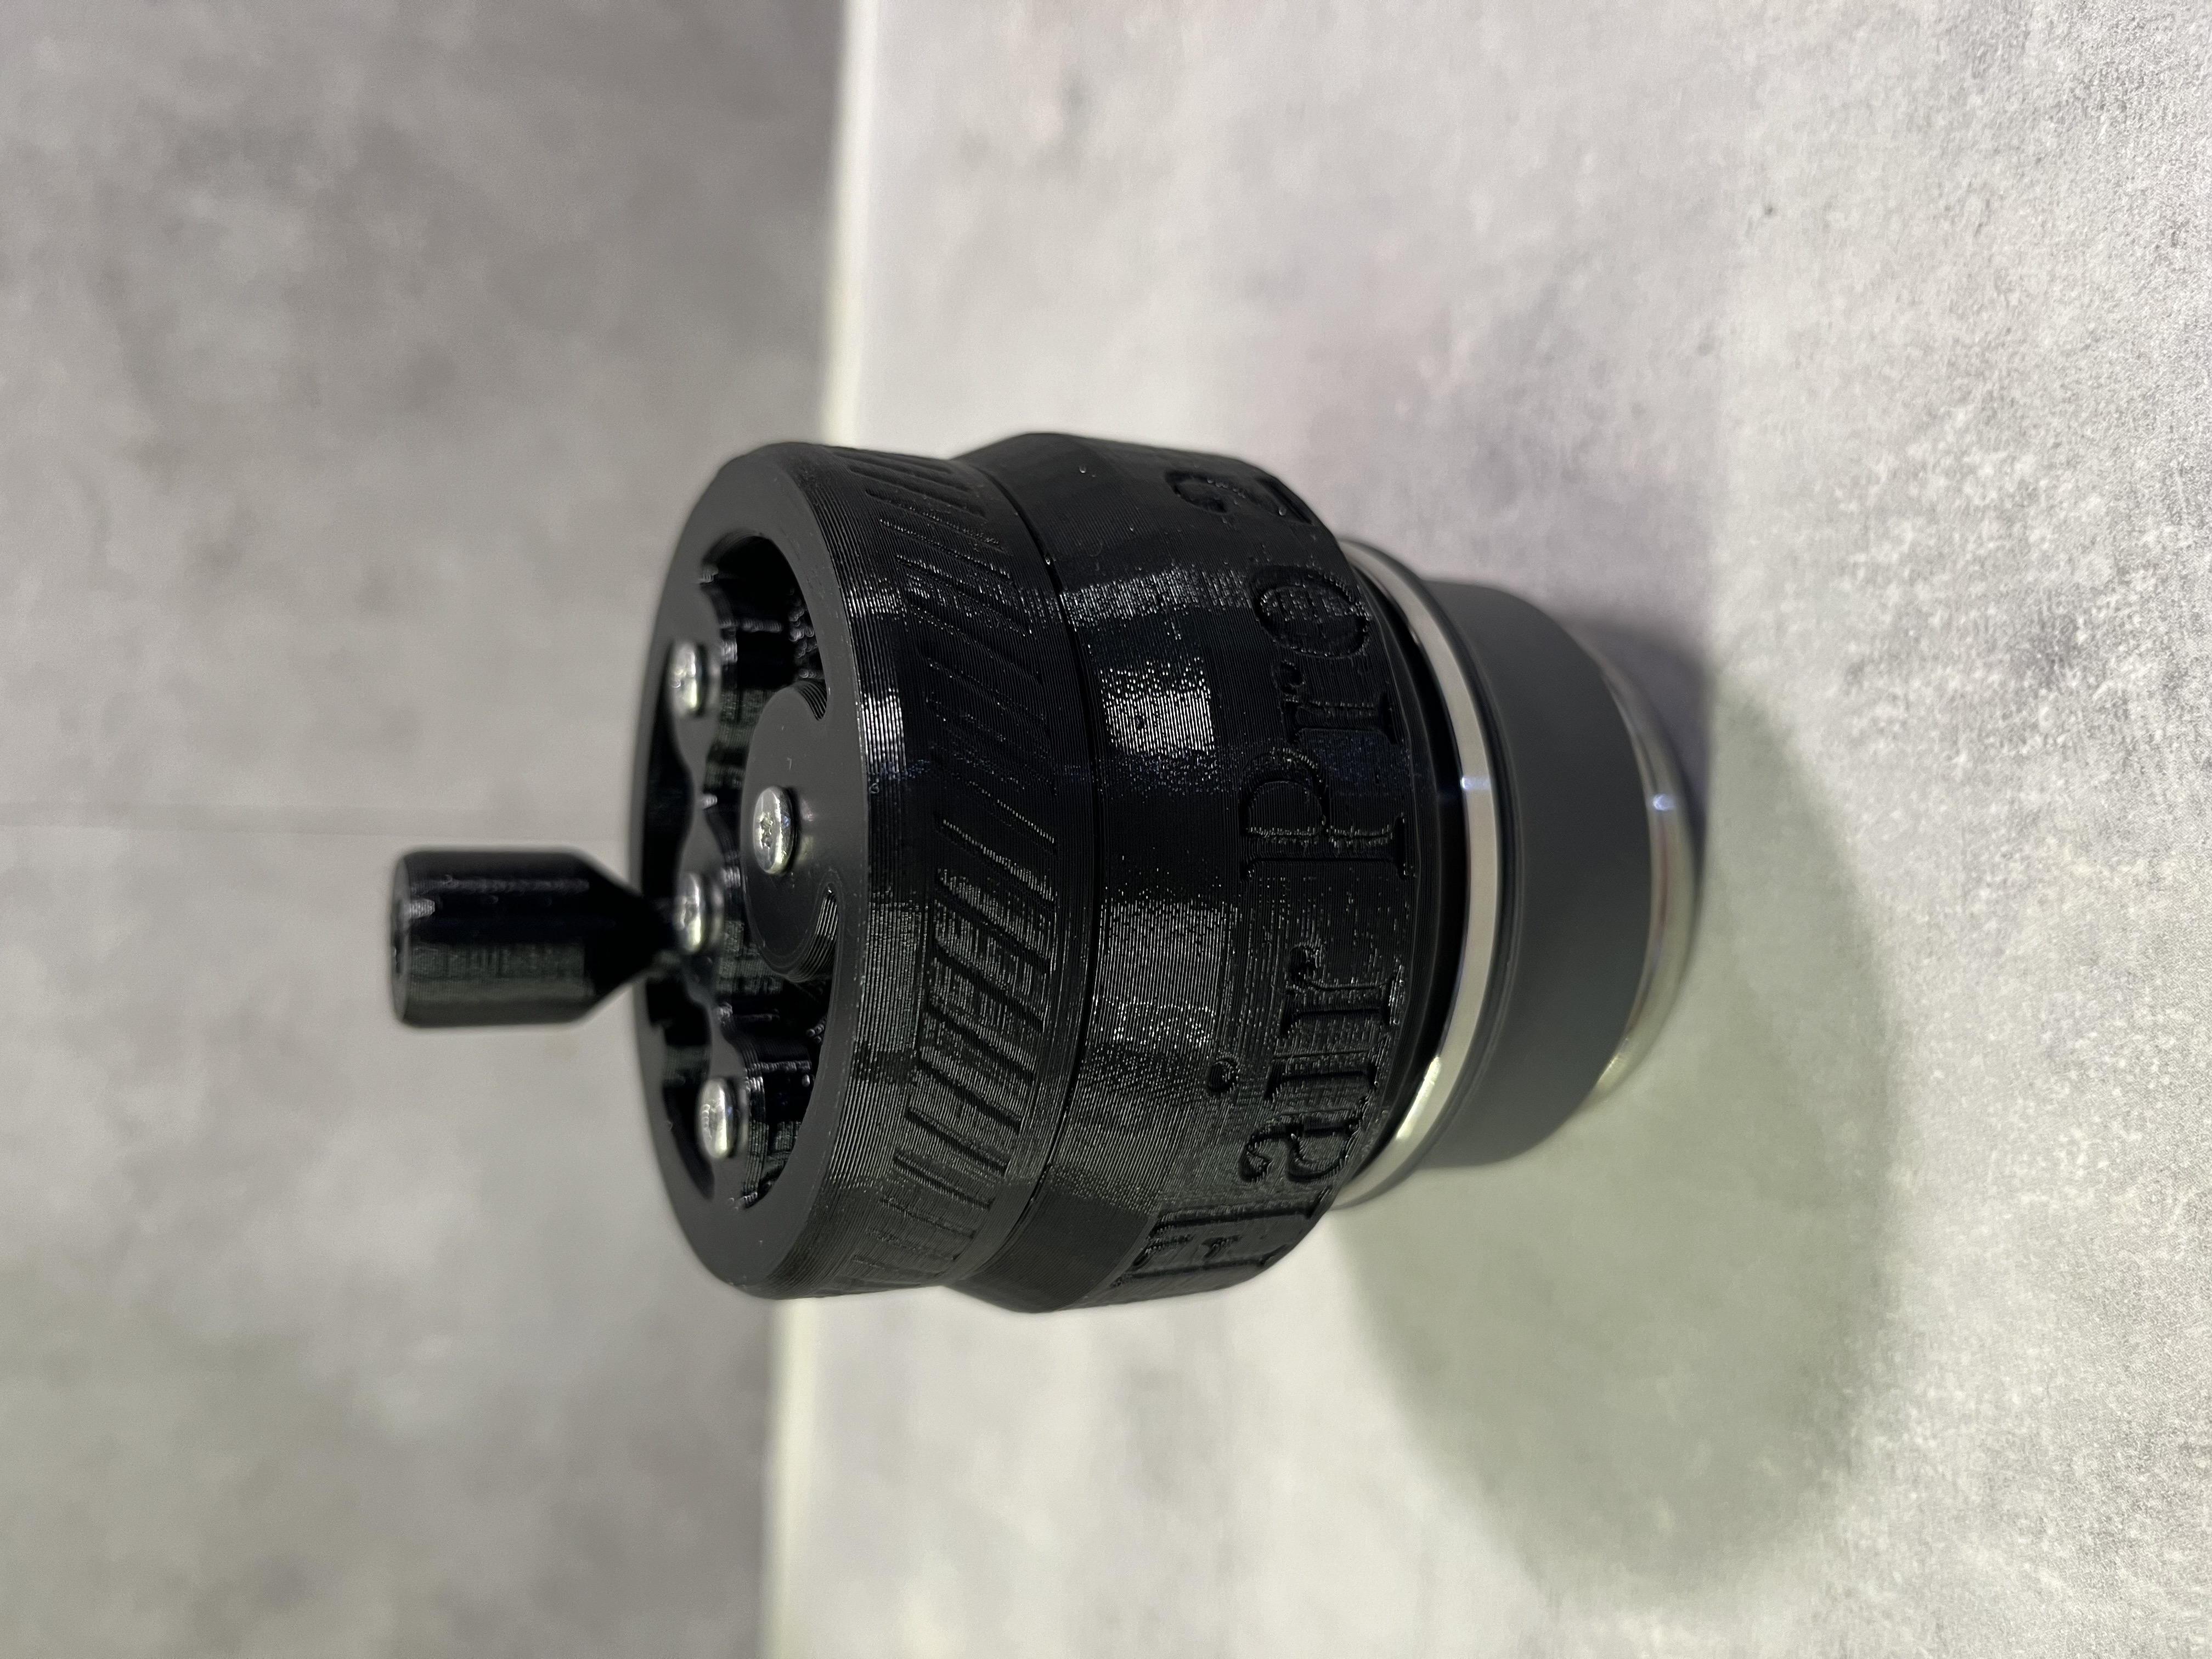
Umikot Flair Pro 2 Version 2 (Old Model)
by 42 · via Printables
| Format | STL |
| Category | Home |
| License | CC BY-NC-SA |
| Triangles | 33.4k |
| Uploaded | Jan 14, 2024 |
⬇ 57 downloads
❤ 11 likes
👁 1.3k views
Description
***Umikot Flair Pro 2 rework is here! Check it out: https://www.printables.com/de/model/719084-umikot-flair-pro-2-rework *** I enjoyed the Umikot for Flair Pro 2 remix from @Vert, but in my workflow, I discovered things that didn't work for me - especially when I use more than 17g of coffee grounds for some of my recipes. So, I remixed the project further to suit my needs. Here is what I didn't like: At first, after removing the Umikot from the portafilter after spinning, some of the coffee ground goes beneath, so I added a slight tapping on the portafilter with the Umikot after rotating to fix this, but sometimes it didn't work. Also, the short base didn't hold that well on the portafilter, which was also a problem for the tapping fix. So, I tried to use the base part as a funnel and always screwed the mech on it after filling the portafilter with coffee grounds and removing the mech after spinning to ensure all coffee grounds go into the portafilter. That worked, but due to the thread, it wasn't that intuitive to do. Here is what I did: I redesigned the base so you can use it as a proper funnel, which holds on better to the portafilter and has more space upwards for the grounds. It is also designed so that it has the same distance to the mech even without the thread, so you can keep the needles the same. In the next step, I redesigned the mech to fit it with the new base. I removed the thread so that it fits correctly to the new base. I also added a bigger outer ring on the mech that goes over the base for a better grip by spinning (now it is quite satisfying how the mech fits into the base, almost like snapping two magnets together). The new workflow: Use the base as a funnel and pour the coffee grounds into the portafilter, then give it a slight tap. Put the mech on it and spin. Remove the mech and give the portafilter with the base a slight tap. Remove the base and you're good to go. How to print: Print settings are the same (see below the settings from the original Umikot 58 Project from @redfoxdude), still no supports needed: 0.2mm layers 4 top/bottom layers 2 walls are sufficient 11% gyroid minimum (consider higher for more heft!) No supports Concentric top pattern for Spin Ring V2 Concentric bottom pattern for Mech V2 Random z-seam for Upper Mech can help with snagging and improve smoothness [Thanks to zumicroom in EAF] I recommend to use PETG for the spin ring and the base Maybe print the base with finer layers, like 0.15mm or finer for a smoother funnel experience (didn't test this yet, 0.2mm worked for me but it could be improved) The other parts you need from the original remix (Umikot for Flair Pro 2): planetwdt-umikot_-_large_handle_nocountersunk planetwdt-umikot_-_spin_ring_nocountersunk planetwdt-umikot_-_stand_notab What comes next (rework version): New version will be a complete rebuild with an other program, so it will not look like a "remix". Complete design overhaul - new grip design for all handles without text and fixed outer diameters for an even look (couldn't redo the grip stripes one by one so I decided for the text at the current version) . New stand that the Umikot Flair Pro 2 rework will fit in without the base Steeper base (funnel) , for even better use as funnel. easier turning Stronger holder for the needle on the side
AI Analysis: This is a mechanical part designed for a specific application, likely a tool or device. It features a handle for grip and a threaded connection for secure attachment. The part is labeled 'Umikot Flair Pro 2 Version 2' and has a robust design with a funnel-like shape and additional features such as 'more' and 'pro' indicating enhanced functionality.
Originally published on Printables


