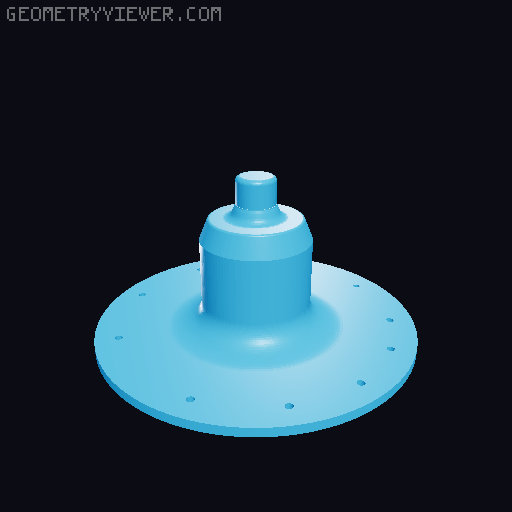
Vers. 2 Concrete mold lampshade / Beton Lampenschirm 21,3x21,3x13,98cm
by Raumwerk Vogler · via Printables
| Format | STL |
| Category | Art |
| License | CC BY-NC-SA |
| Triangles | 14.7k |
| Uploaded | Feb 19, 2023 |
⬇ 149 downloads
❤ 54 likes
👁 2.1k views
Description
UPDATE 17/02/2023 Added a sanding aid to sand the inner edges of the outer surface of the lampshade after the filling primer __________________________________________________________________________________________ UPDATE 18/02/2023 Added a holder to hang the shade from ceiling for spraypainting it. Holger is printed with 100% infill, in my case with 0.6 on a 0.8 nozzle. __________________________________________________________________________________________ UPDATE 19/02/2023 Added printfiles for some knurled mounting pins for M8 screws in 50mm within the counterparts for the M8 nuts. The covers are scaled to 97,5% in Cura, because they were a little bit to big. The Base is for both parts the same. Just the covers are different. One with and one without a hole. I attached all parts with a little bit of glue, bevause the tollerance of nuts und srews un the hexagon was to 0,9mm from thickness and I printed the parts big enough to get all in. __________________________________________________________________________________________ NEEDED PARTS E27 Holder: https://www.amazon.de/DiCUNO-Vintage-Lampenfassung-Schraube-Gl%C3%BChbirne/dp/B07ZFHRPDV/ref=sr_1_1_sspa?keywords=lampenfassung+e27+vintage&qid=1676641528&sr=8-1-spons&sp_csd=d2lkZ2V0TmFtZT1zcF9hdGY&psc=1 __________________________________________________________________________________________ After not finding a way to print the previous model cleanly, I changed the design of the mold. Now the base mold is used to create and stabilize an inner silicone mold. Before the silicone can be poured into the mold, I treated the prints with spray filler. There follows a 3-fold painting with acrylic paint to make the surfaces more robust. As soon as everything is prepared, the mold is simply assembled with M8 screws and nuts and the master model is filled with silicone on the inside. After the silicone has hardened, the mold is simply unscrewed, the master model is removed and can then be filled with plaster, concrete or resin. The hole for receiving the socket is prepared for European E27 sockets. if necessary, this still has to be adjusted in Fusion 360. The lampshade is slightly modified compared to the first variant and can also simply be printed and used. When printing, I created the master model with a 0.2 and a 0.4 nozzle. The support form was printed with a 0.6 and a 0.8 nozzle. In order to get it stable enough that the shape can be used permanently and more often, I decided to use 30% filling. So, now have fun printing and tinkering. Of course I am happy about your downloads, likes and the pictures of your makes. _______________________________________________________________________________________________________ Nachdem ich keinen Weg gefunden hab das Vorgängermodell sauber zu drucken habe ich das Design der Form geändert. Jetzt wird die Grundform zur Erstellung und zur Stabilisierung einer inneren Silikonform genutzt. Bevor das Silikon in die Form gegossen werden kann, habe ich die Drucke mit sprüh Füller behandelt. Es folgt noch eine 3 fache Lackierung mit Acryl Lack um die Oberflächen robuster zu machen. Sobald alles vorbereitet ist, wird die Form einfach mit M8 Schrauben und Muttern zusammengefügt und mit dem Urmodell innenliegend mit Silikon gefüllt. Nach Aushärtung des Silikons wird die Form einfach ausseinander geschraubt, das Urmodell entnommen und kann dann mit Gips, Beton oder auch Harz ausgegossen werden. Das Loch zur Aufnahme der Fassnug ist für europäische E27 Fassungen vorgerichtet. bei Bedarf muss dies in Fusion 360 noch angepasst werden. Der Lampenschirm ist im Vergelich zur ersten Variante noch leicht abgewandelt und kann auch einfach nur gedruckt und verwendet werden. Beim Druck habe ich mit 0.2 und einer 0.4 Düse das Urmodell erstellt. Die Stützform ist mit 0.6 und einer 0.8 Düse gedruckt worden. Um es stabil genug zu bekommen, dass die Form dauerhafgt und öfter genutzt werden kann, habe ich mich für 30% Füllung entschieden. So, nun viel Spaß beim Drucken und basteln. Natürlich freue ich mich über eure Downloads, Likes und die Bilder eurer Makes.
Originally published on Printables


