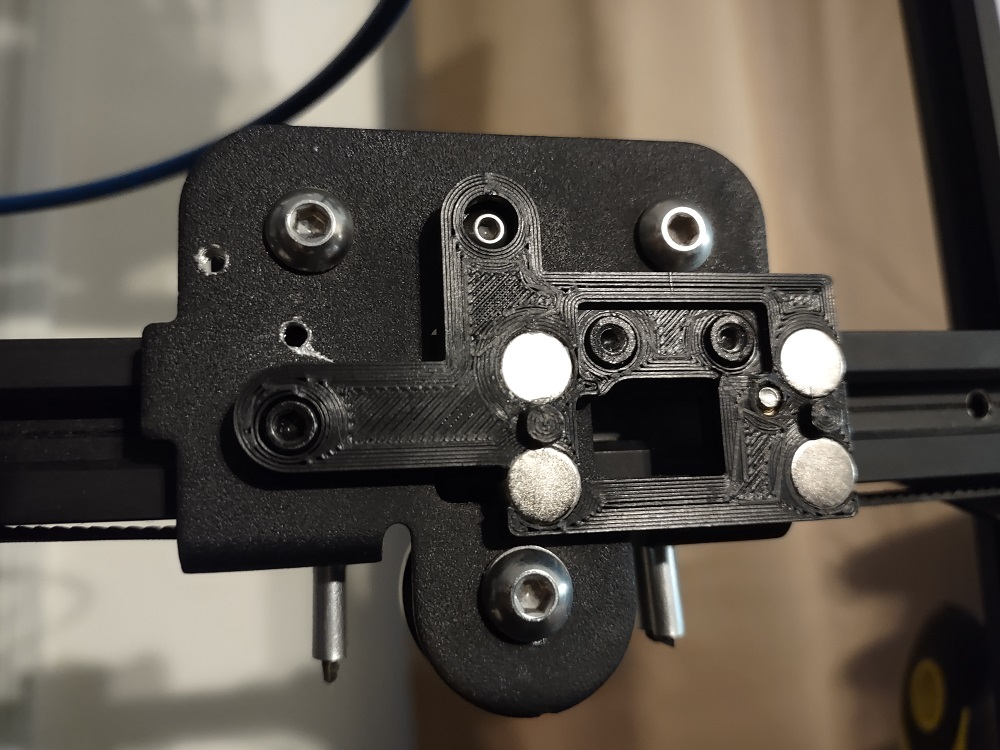
Voxelab Aquila Hero Me Gen7 Magnetic Gantry Adapter
by Belackarlc · via Printables
| Format | STL |
| Category | Art |
| License | CC BY-NC-SA |
| Triangles | 10.1k |
| Uploaded | Oct 2, 2023 |
⬇ 30 downloads
❤ 3 likes
👁 323 views
Description
Took the original Voxelab Aquila Hero Me Adapter that The3DHobbyist made and cut it together with the Magnetic Mount by Bad Acid Prints . So that you could use the Harbor Freight magnets. (Current SKU#: 67488. I measured them in case you don't have access to a Harbor Freight. Measurements are: 8mm / 0.31in diameter by 1.9mm / 0.07in thick. ) Alignment points are all the same as the stock model. (This is meant to fit the earlier Aquila's that have slightly offset holes from the later ones. ) There is the original heat insert hole on the back. M ake sure you put the magnets in first and support things when you press the heat insert in. Otherwise you probably will deform the magnet hole, they are very close together. The magnetic gantry adapter is made with the tapered alignment holes. To use that feature you will need get the "Base_Tapered_Holes.stl'" from the Magnetic Mount. (You can use the one without pins from the same build, I suppose, but there is no reason why you would want to that I can think of.) ------- Printing and assembly tips. ------- Print in the laying position with the magnet holes facing up. This will remove the need for cleanup and make the gluing in of the magnets the easiest. Make sure you get your polarity right on the magnets between the base and the gantry adapter before you glue them in. I used superglue on my magnets. That seems to work alright. The spacer file is for skirt mounting (stock style) hot ends. (Per the Hero Me example files, your nozzle tip should be 4mm from the back of the fan duct outlets. ) On my machine that was 12mm on the skirt stand off, this is how tall that file is. You may need to adjust it per your specific use cases. Print these soild so they don't flex any. If you have any elephant foot, then put the flaired part against the heat sink. Note: you will need 2x M3 screws about 30mm long. (Plus possibly a couple of washers depending on your machines built in stand offs.) --------------------------------- There are two versions of the adapter plate. One is if your backer has the same thickness heat sink stand offs as the Creality backers. The ‘thicker' one has the same thickness as my Voxelab's heat sink stand offs which was about .95 mm taller, not sure why just was. Might want to measure and use the one that fits your backer plate. (The thicker model has some non-manifold face issues I couldn't get fusion to quit creating. But it should print fine.)
Originally published on Printables


