Zigbee controller for servo mounted ball valve blast gate
by AnCyberTurtle · via Printables
| Format | STL |
| Category | Electronics |
| License | CC BY-NC-SA |
| Triangles | 22.4k |
| Uploaded | Jan 19, 2025 |
⬇ 64 downloads
❤ 13 likes
👁 893 views
Description
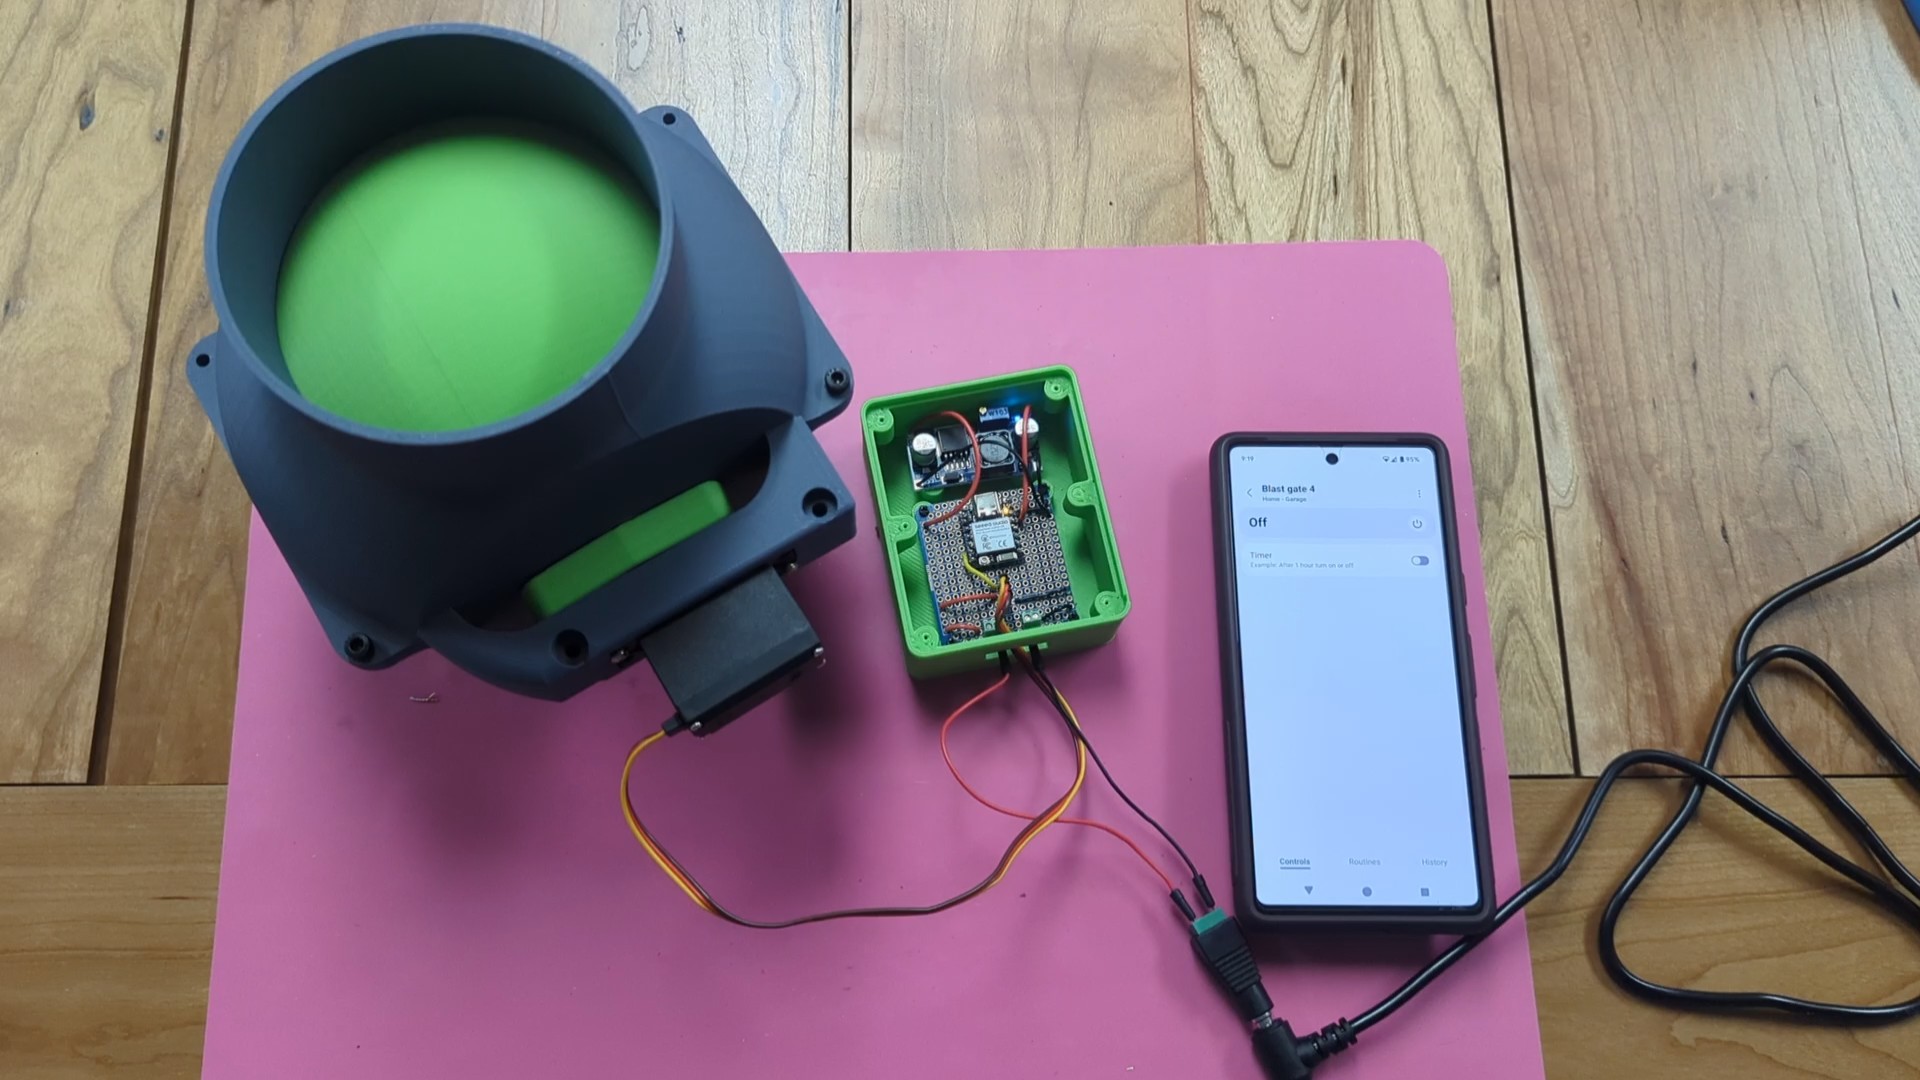
This project uses a XIAO esp32c6 as a zigbee endpoint device. It shows up as a switch in smartthings allowing you to toggle on and off a blast gate. For testing purposes, pressing the button on the board also activates the servo on and off. Upon a power cycle, the blast gate adjusts to be closed. Components: Esp32c6 - https://www.amazon.com/gp/product/B0D2NKVB34/ref=ppx_yo_dt_b_search_asin_title?ie=UTF8&th=1 Servo - https://www.amazon.com/gp/product/B0D7M4LHBP/ref=ppx_yo_dt_b_search_asin_title?ie=UTF8&th=1 Buck Converter - https://www.amazon.com/gp/product/B0D7M4LHBP/ref=ppx_yo_dt_b_search_asin_title?ie=UTF8&th=1 PCB - https://www.amazon.com/dp/B07ZYT915N?ref=ppx_yo2ov_dt_b_fed_asin_title&th=1 Header pins (optional, but nice to have for easy servo attachment) - https://www.amazon.com/dp/B07R5QDL8D?ref=ppx_yo2ov_dt_b_fed_asin_title Screw block terminals (optional, but nice to have) - https://www.amazon.com/dp/B08B3JP9QZ?ref=ppx_yo2ov_dt_b_fed_asin_title&th=1 7v power supply Compiled sketch is included in the zip file ‘zigbee-servo’. If you would like to compile yourself, below are the instructions. Software Setup: Install Arduino IDE - https://www.arduino.cc/en/software Once installed and open, use the board manager to install ‘esp32’ board support Install ‘ESP32servo’ library from the library manager. Open the zigbee servo project in the IDE. Compiling and uploading: Connect the esp32c6 via usb to your computer. Select the board from the dropdown at the top. It will likely name it an ‘esp32 device’. Change the board type to XIAO ESP32C6 Under tools menu: Zigbee mode > zigbee ED mode Partition Scheme > Zigbee 4MB with spiffs Compile by hitting the check button Upload to the device. After upload, terminal output should show the device attempting to join available zigbee networks. Make sure your network is in pairing mode so it can add the esp32 board. Pins used: 3v3 GND GPIO23 Assembling the project: While powered at 7v, ensure you adjust the buck converter to output 3.3v before wiring this project up. This will require quite a few turns before you get the voltage you need. I found the easiest was was to turn it counterclockwise until the onboard LED went out, then turned it clockwise about 1 and a half turns to get close to 3.3v. Follow the picture provided for how to solder components. The headers allow for daisy chaining multiple blast gates off of one 7v power supply.
AI Analysis: This object is a mechanical component designed for controlling a ball valve, featuring an Arduino-based system with ESP32 microcontroller. It is used for automated dust collection in a home environment, with a green circular component likely representing the valve mechanism. The device includes wiring and a smartphone interface for remote operation.
Originally published on Printables


